Thursday, 8 October 2020
Hardware and Software Requirement
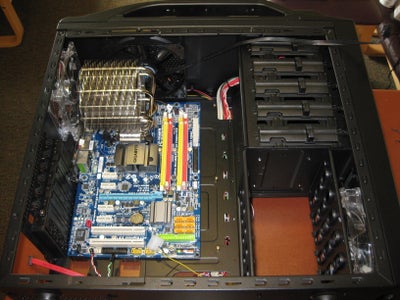
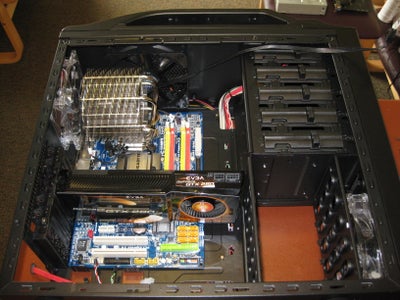
This specific computer was designed around Folding@Home and gaming as well as just having a powerful system for new software and things to come.
Step 1: Step 1: Remove Side Panels on Case
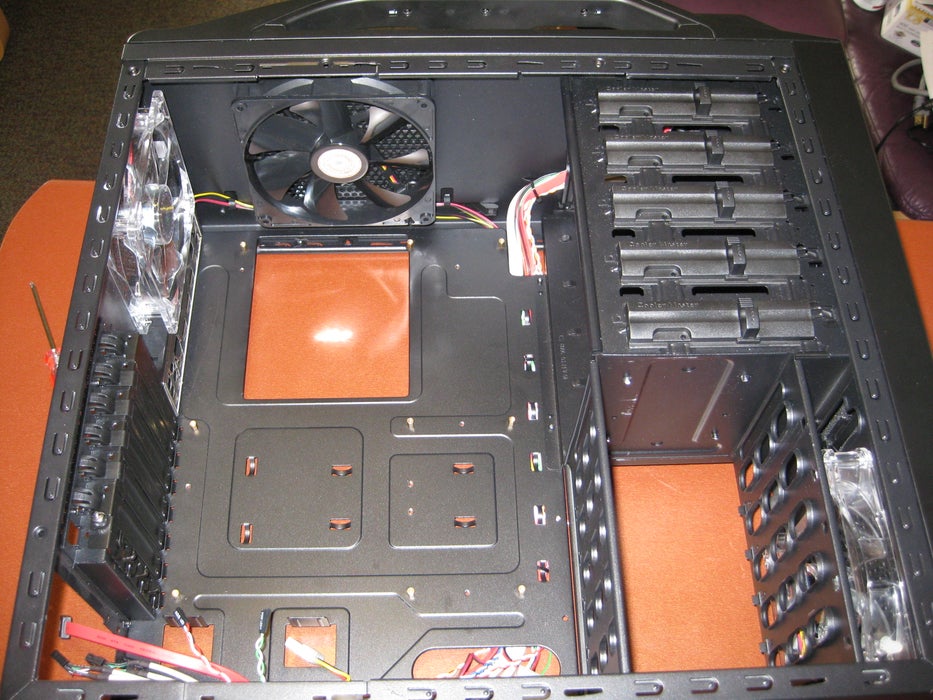
After removing the case from the box, the panels are removed from this case with thumb screws. Your specific model's manual will have more information if you are unsure for your case.
Included were standoffs for mounting the motherboard, following the included template, thread into the corresponding holes in the case.
Step 2: Step 2: Insert Motherboard
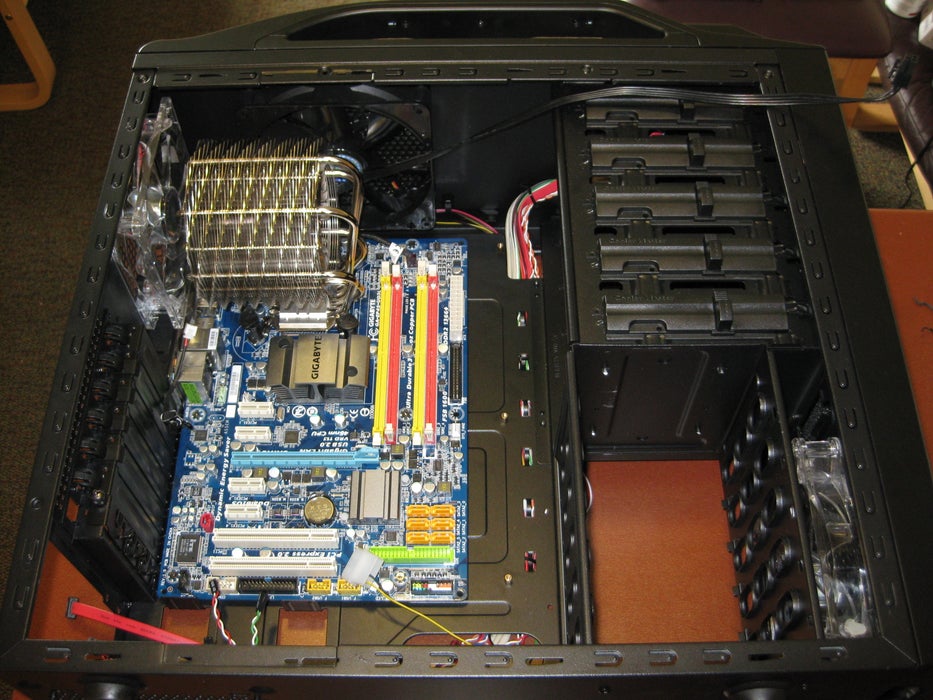
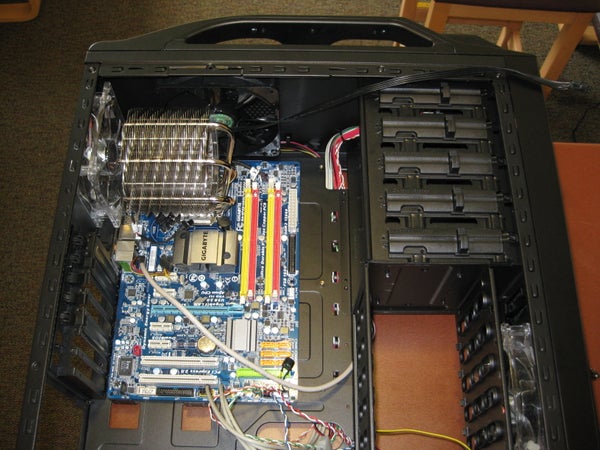
In my assembly process, as I was just transferring the parts from one case to another, leaving the CPU cooler installed was the easiest option. Depending on the motherboard, case, CPU and CPU fan, this might need to be done before installing or once in place.
Before setting the board in, the I/O panel faceplate needs to be snapped into the location in the back of the case. Be sure to orient it to the board.
Once the board is resting in the case, line up the first hole, I suggest a corner. Do not tighten all the way down until all screws are started so that the others will line up.
After all are in and tightened, there should be little or no deflection of the board if you gently press on it. It is advisable that any place there is a mounting location for the board, that it is screwed into a standoff. This will provide support while installing the components into the motherboard.
This case has a cutout for access to the back of the motherboard for the massive CPU coolers that have brackets that attach to the back of the board.
Step 3: Step 3: Check Clearances
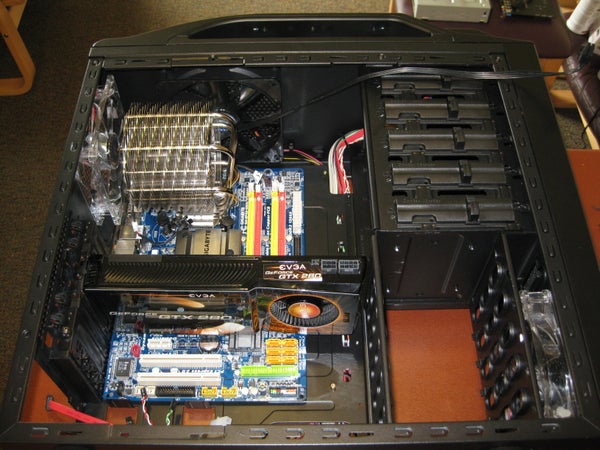
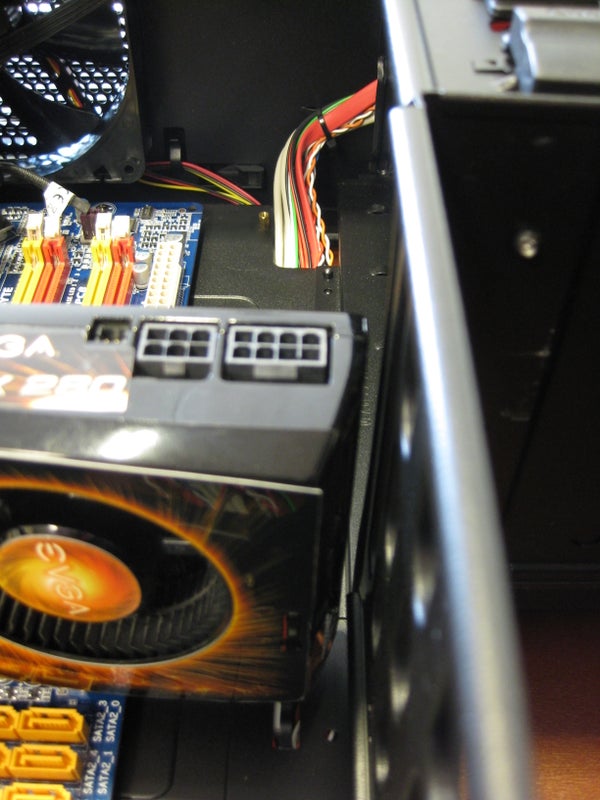
Being that this computer includes high performance components, some of them are large enough that clearance can become an issue. For this reason once the board was installed I fitted the graphics card so there would not be more surprises later in the process.
Step 4: Step 4: Front Panel Connections
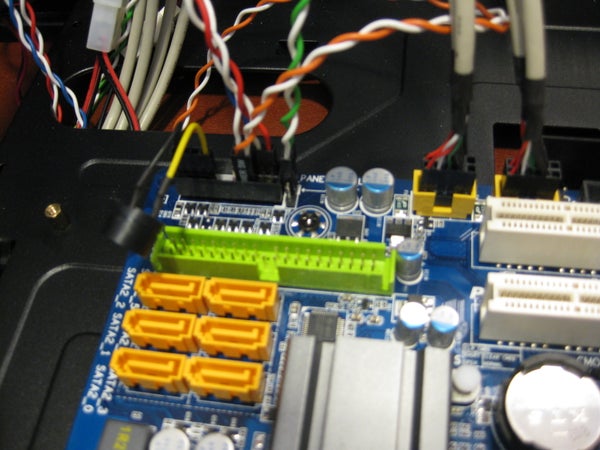
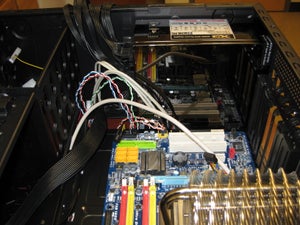
Once the graphics card was removed again, it is time to attach the connections for the buttons, lights, USB ports and audio connections. As every case and motherboard differ slightly, it is best to refer to the manual for the placement and orientation of connections. Some of these connections are made to only work in one direction so be careful when using force, it might be in an incorrect orientation.
Step 5: Step 5: Install Power Supply
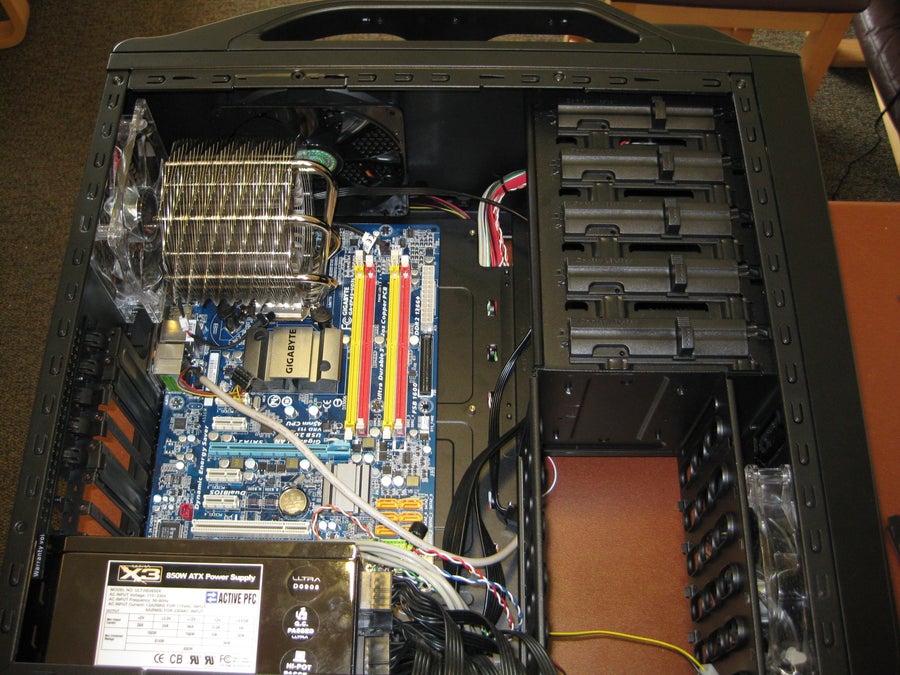
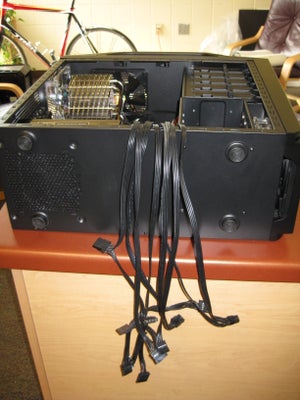
The power supply from the previous case was modular so only the cables that are needed are plugged into the unit. As well this makes cable management cleaner in the end. Normally the supply is screwed into the back panel by 4 screws, though some cases include a clamp to hold it down that way.
The second picture shows all of the cables that my computer needs to function properly.
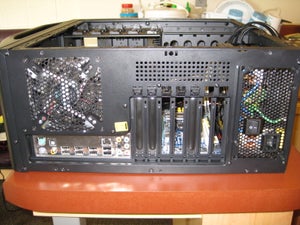
Not pictured, below the supply there is a hole with filter for the power supply to circulate air independent of the case fans.
Step 6: Step 6: Power Motherboard
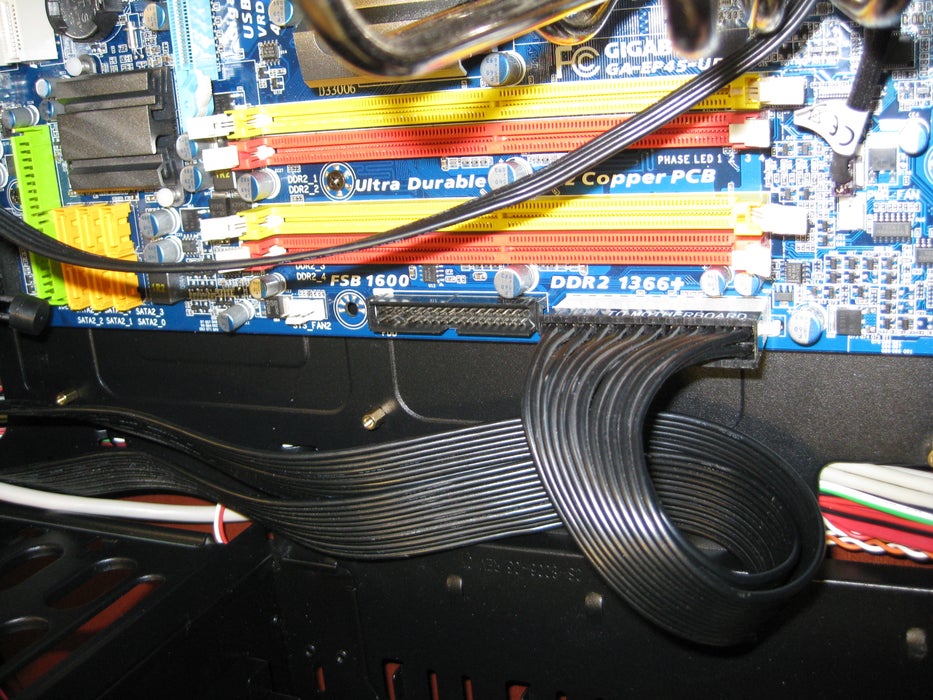
With the motherboard power being the largest cable and sometimes just long enough, I suggest running this cable first and plugging it into the board, if there is a second cable for the CPU remember to connect it as well.
Step 7: Step 7: Installing Optical Drive
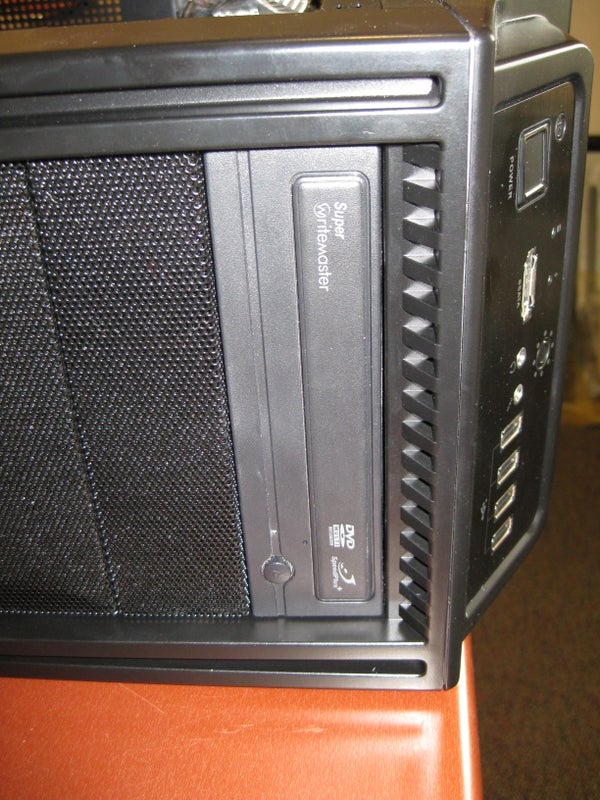
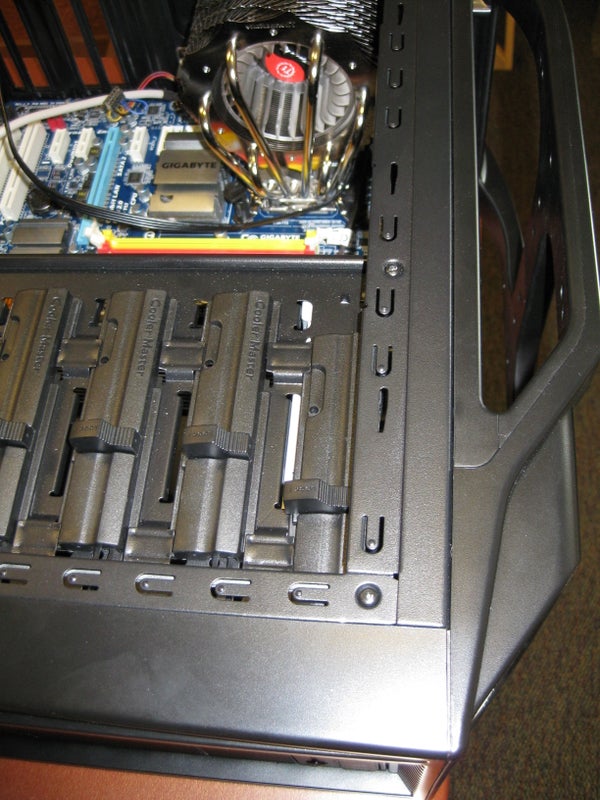
The optical drive for this computer is a DVD/CD read/write combo. Some people prefer to only connect an optical drive when installing items but one being in place at all times comes in handy when something comes up and you do not want to open the case and connect the drive.
The second picture shows the tool-less design of the case to hold the drive in place.
Step 8: Step 8: Installing the Hard Drives
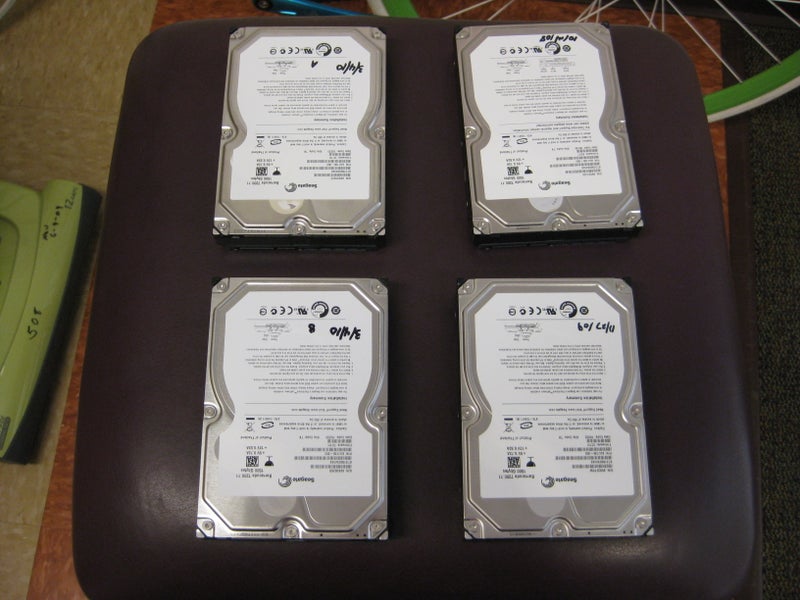
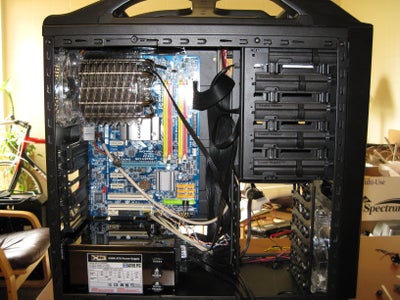
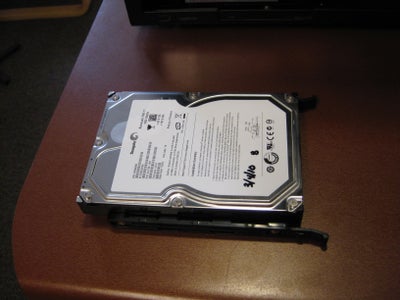
The size and number of hard drives your computer contains is completely dependent on your style of use and storage needs. This computer uses 4 drives, two in raid and the rest for a main drive and miscellaneous storage.
Picture 2 shows the location for the drives in the case, this model has a cross mounted design, others might have them in the same direction as the optical drive installed previously.
Picture 3 is an example of possible tool-less drive mounting hardware, this clips allow the drive to be just slid in and lock into place.
Picture 4 depicts the drives installed and spaced out for air flow. This is very important to extend the lifespan of the drive, key when you are making a long term investment or run your computer continuously.
Picture 5 shows the back of the drives where the connections for power and signal are made.
Picture 6 shows the cables attached.
Step 9: Step 9: Connect Cables
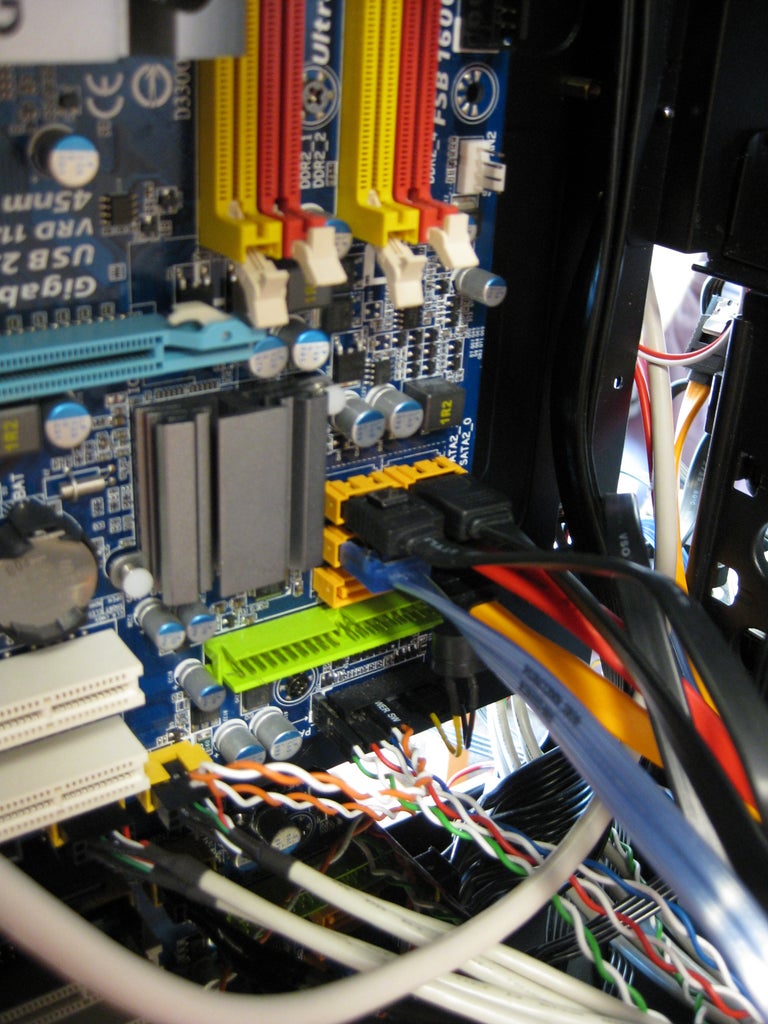
It is time to connect the cables for the hard drives and optical drives. The cables are keyed so they will only fit in one direction into the board, don't forget the cable that is attached to the optical drive. This computer does not use the IDE cable but if you are connecting an older optical or hard drive they might require it.
Step 10: Step 10: Install RAM
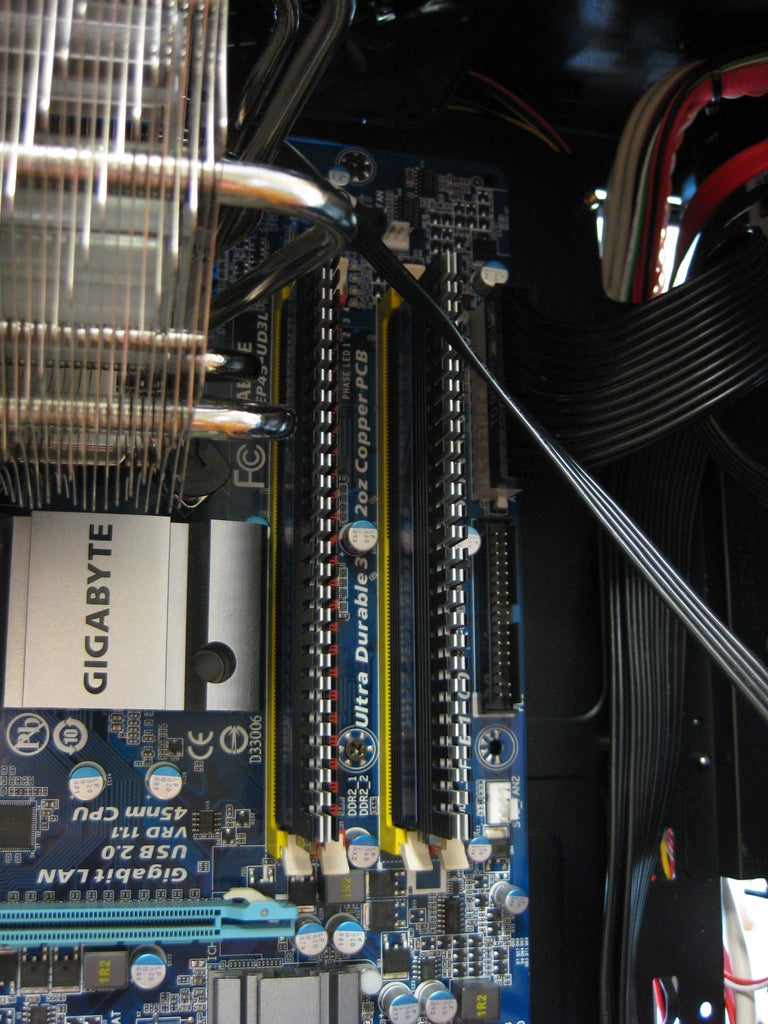
It is time for the ram to be inserted. If your computer uses more than one stick like mine, refer to the manual for which slot to install the stick. If only one stick is going to be inserted, place it in the slot closest to the CPU.
The slots are keyed as are the RAM sticks, so make sure the notch is lined up. Even correctly lined up it will take considerable force, this is where having those standoffs in the correct spots pays off. Having done this for several computers, I still get uneasy pushing so hard on electronics.
You will know when they are set firmly as the locking tabs will snap into place and hold the RAM firmly in the slot.
Step 11: Step 11: Install Graphics Card and Expansion Cards
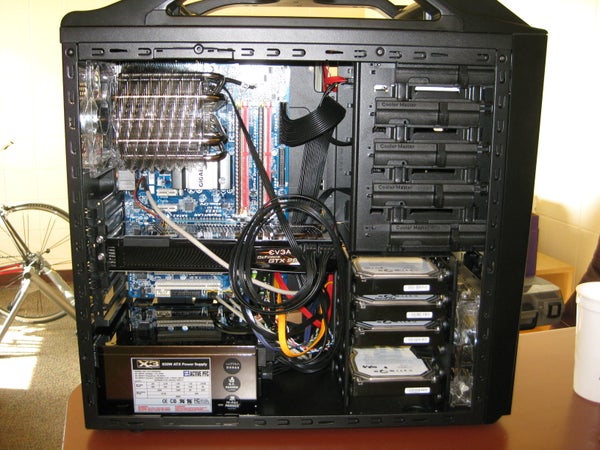
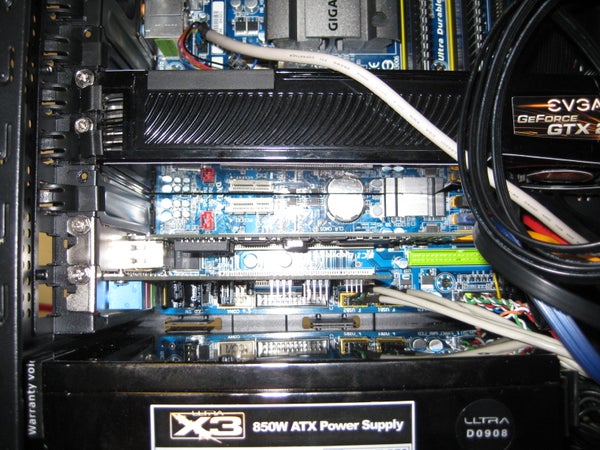
If your computer does not come with a graphics card integrated into the motherboard or you are adding an additional card, this is the time to do so.
With some high performance cards, additional power cables might need to be installed. The manual for the card should tell you how many cables are needed. In my case it is a 6-pin and an 8-pin.
After that is in place and secured with screws in place (a time where tool-less is not enough), the network card and audio card for the computer are connected into the slots below the graphics card.
Step 12: Step 12: Cable Management
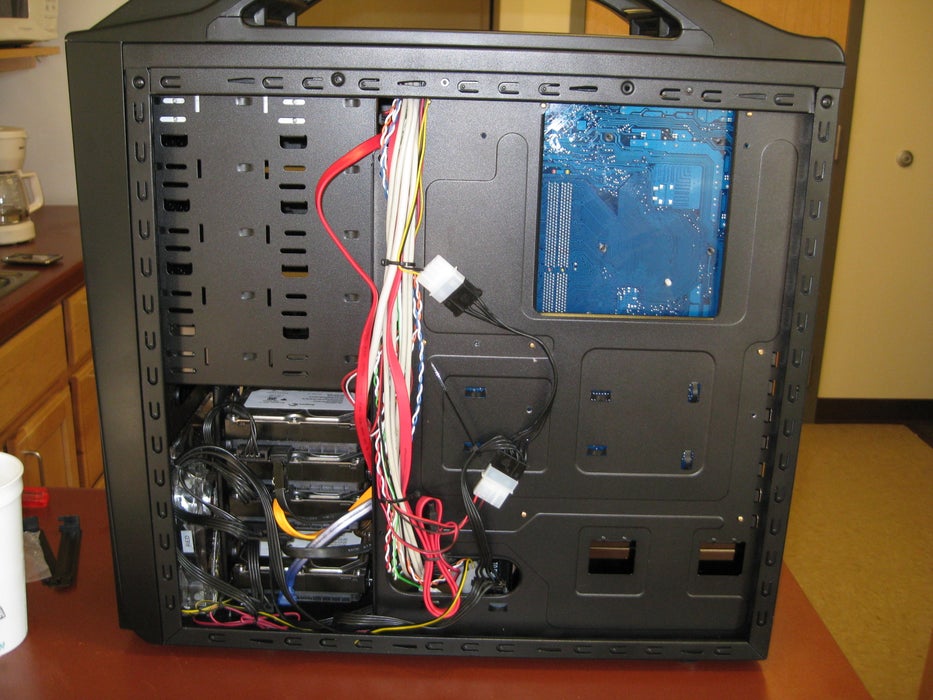
With all components in place, it is time to make your hard work look like a work of art. Hiding cables and organizing them will help in the future if you are looking for high airflow through the case or to light it up.
Small steps taken through out the process of installing the components can pay of huge at this point by not needing to re-run the cables around brackets or through holes in the frame. Some of the management was done out of the box for this model being that the front panel and fan cables were already secured ahead of time. Another thing to think of is that the back panel does not leave a large space if you have several cables running over the top of others.
A few trial and error steps later this will look and perform with ease. Also, it is a nice point to brag once you call up your friends to show off the system you assembled with your own hands.
This step is also when fans and lights can be connected.
Step 13: Final Product
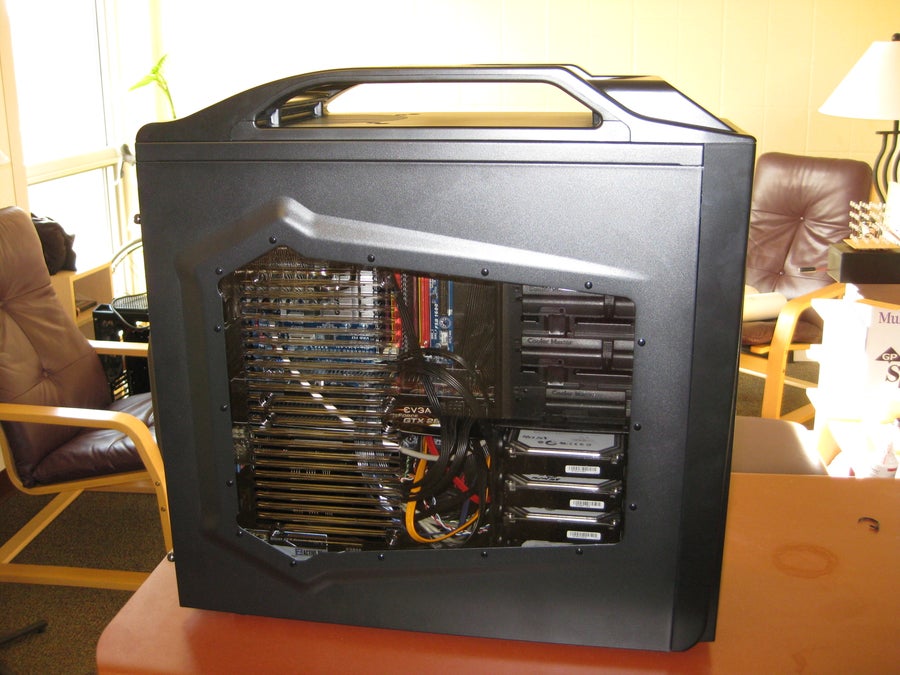
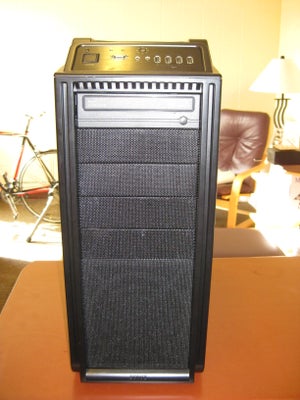
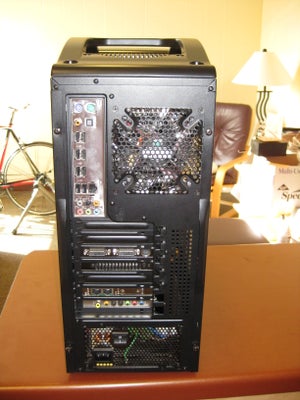
The assembly of a brand new computer can take several hours. Just to remove and mount in a new case with no other modifications took me 3 hours, 2.5 of that just the re-installing time.
With the job complete it is time to fire it up and enjoy your creation. From here you can add your operating system and software as you see fit.
Hope this helps you. Leave a comment if there are questions you still have that were not covered.

0 comments:
Post a Comment